 Nix McRetro
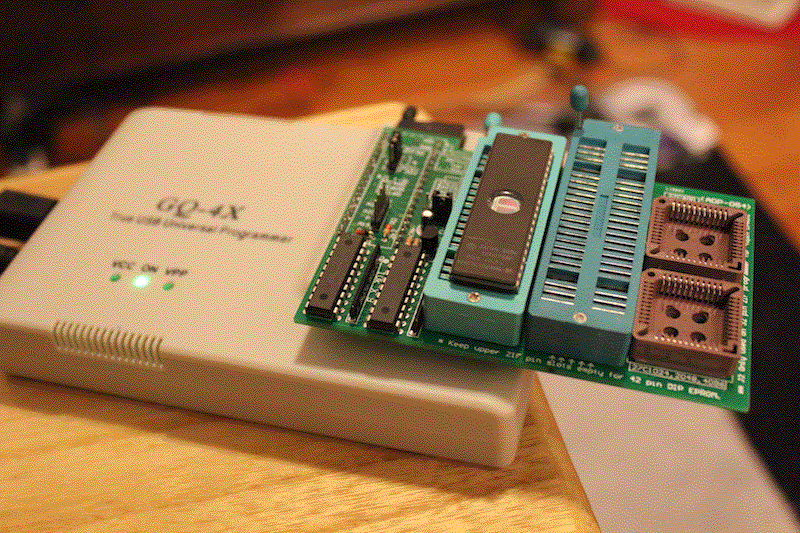
Here’s a little collection of Sony PlayStation modchip installation guides. I’ve experimented with a few different PIC microcontrollers and Mayumi 4 configurations over the years, so it’s probably about time I put the useful information together in one place!
The PIC12C508, PIC12C508A, PIC12C509, PIC12C509A, PIC12F508 and PIC12F629 are all little 8-pin devices. They might look rather similar, but that doesn’t mean you can throw any old HEX file at them and expect everything to work. Different PIC families have different programming requirements and oscillator arrangements.
The PlayStation motherboard revision is just as important. An SCPH-7502 with a PU-22 motherboard isn’t the same as an SCPH-5502 with a PU-18 board, so make sure you’ve identified the actual motherboard before reaching for the soldering iron.
Mayumi 4
These are the installations I’ve documented so far:
Each article includes the corresponding installation points and the information recorded for that particular build. Some versions of Mayumi 4 also have different operating modes selected by holding the reset button. Quite a lot of functionality for such a tiny little chip!
MultiMode3 (MM3)
I’ve also experimented with MultiMode3 code, including PIC12C508-series devices. One of the interesting differences is that MM3 uses the PIC’s internal oscillator, whereas Mayumi 4 can use a clock supplied by the PlayStation.
There’s a little more about the programming side in Creating a Sony PlayStation Modchip. I haven’t included a separate MM3 installation diagram here yet, so don’t use one of the Mayumi diagrams and assume the connections are interchangeable.
Be sure to check the motherboard revision, PIC model and exact firmware before programming anything. There’s nothing quite like soldering eight tiny connections only to discover you’ve chosen the wrong configuration!
Sources
- Microchip - PIC12F508
- Microchip - PIC12F629
- Mord.Fustang on ASSEMbler Games - Tutorial: Making Your Own PS1 Modchips
Related Posts