 Nix McRetro
Xeno GC, this bad boy had been sitting around for a long time!
This GameCube was actually one I used to own years ago, probably around 2004. It had been sitting with family friends for a rather long time, and by the time I got around to looking at it again, it was pretty dusty and didn’t want to read discs.
I recognised it straight away thanks to the little label on the front, which was still crooked. I’d apparently tried to straighten it all those years ago and given up. Some things never change! The installation isn’t actually that bad. I’ll eventually do a video of the install as I have another GameCube to chip. It allows the drive firmware to boot compatible recordable media, including full-size and mini DVDs. Full-size discs need a replacement top shell because they physically do not fit through the stock lid. I’m just using mini DVDs.

DVD-R media can expose marginal drive behaviour, but a potentiometer adjustment is not automatically the first or only fix. Disc quality, a dirty lens and a worn optical assembly can all produce read errors. On this GameCube I adjusted the drive-board potentiometer while testing the media I actually had, and the drive became readable enough for those discs. There is no universal “magic” resistance value, and going lower than necessary is not a repair strategy I would recommend.
The potentiometer on this drive is VR401. I measured around 160 ohms before the adjustment, then brought it down to approximately 150 ohms. That’s only a very small change, but the adjustment itself is incredibly sensitive. I knew these things were fiddly, but I hadn’t realised quite how fiddly!
These readings describe what I did with this particular drive. I’d already bought a replacement laser assembly, too. Naturally, after all that, the original started reading again. So now I’ve got a spare laser. Could be worse!
For the test I had the GameCube sitting open, with the lid switches held down and bits of the case scattered all over the place. I even had trouble reaching the controller without letting go of something important.
Eventually Sonic Mega Collection booted from the recordable mini DVD, and the game appeared to run properly. That’s a much better result than staring at a disc-read error.
The Xeno GC installation itself was relatively straightforward, although I was a bit concerned about solder bridges around the small pads. I also had a temporary piece of paper keeping the modchip clear of the metal shielding while testing. Not exactly a finished installation, but it let me check that everything worked.
At least a GameCube-compatible Wii would give me another way to play the games. Note to self: Get a Wii! ;)
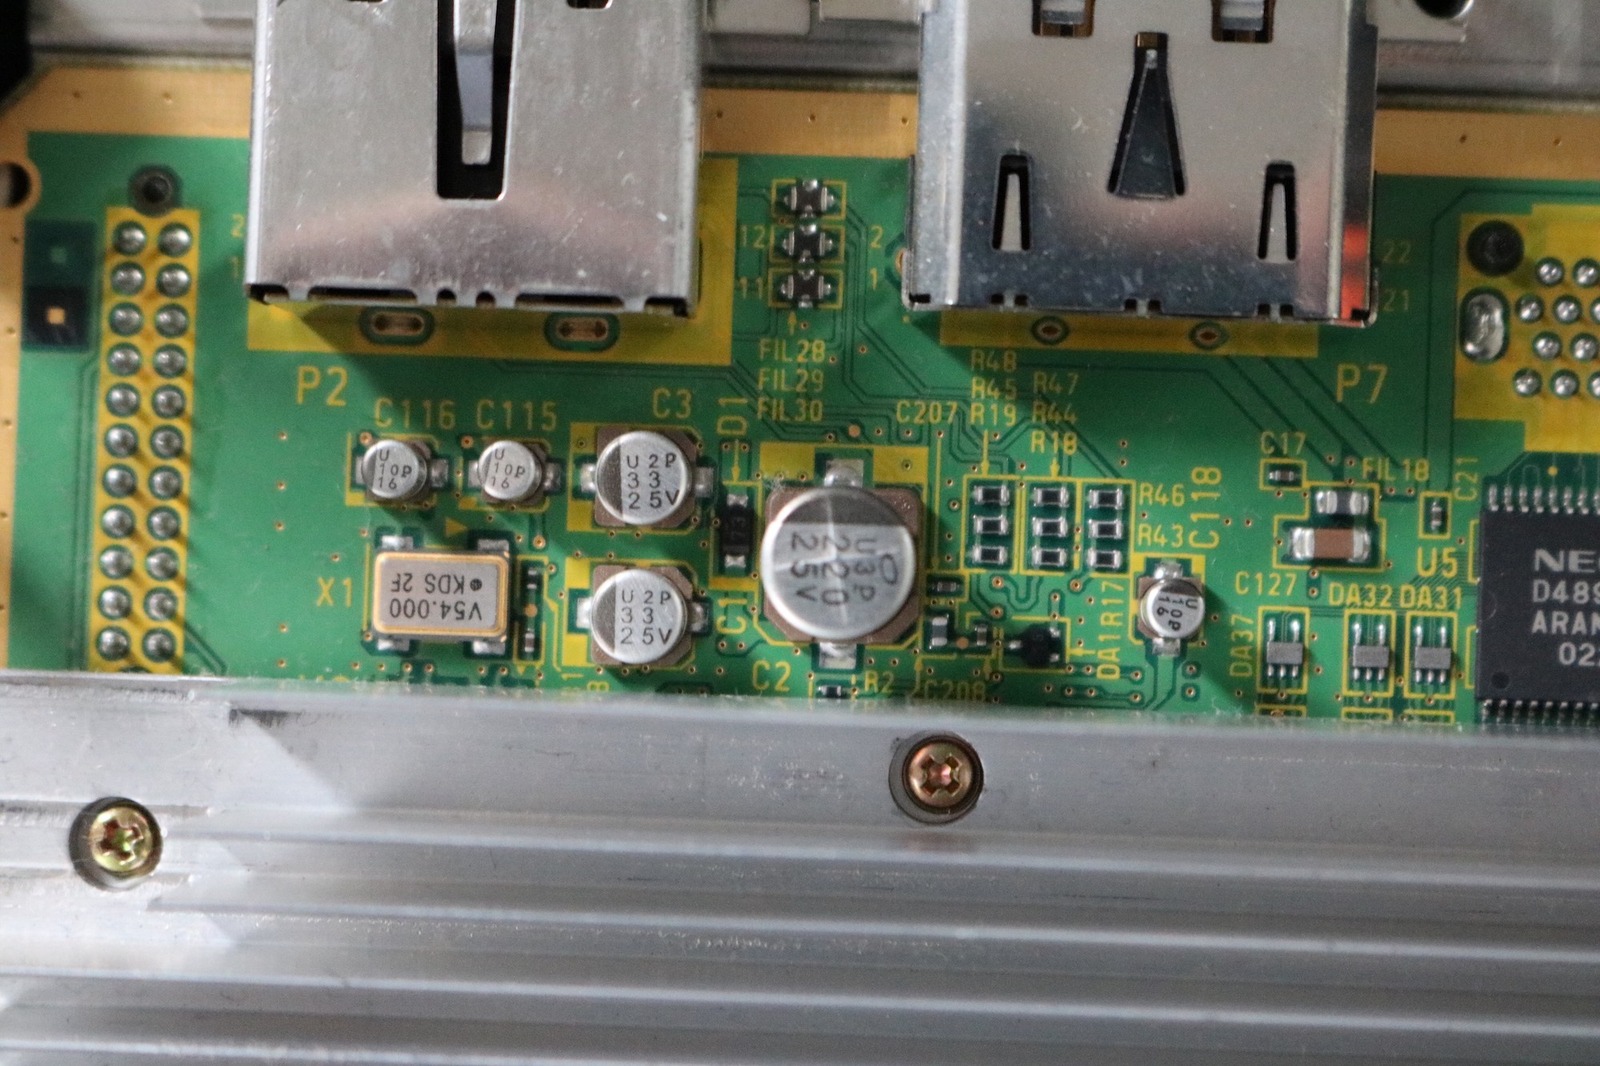
While I had this one open I took some snaps of the electrolytic capacitors. These are the caps on the mainboard. They’re getting old enough to keep an eye on, but age alone does not prove they are about to fail or leak all over the things. How some of my Mega Drives haven’t leaked yet, I do not know!
The little battery on the board looked like a CR2032, so that’s another thing to investigate while the machine is apart.
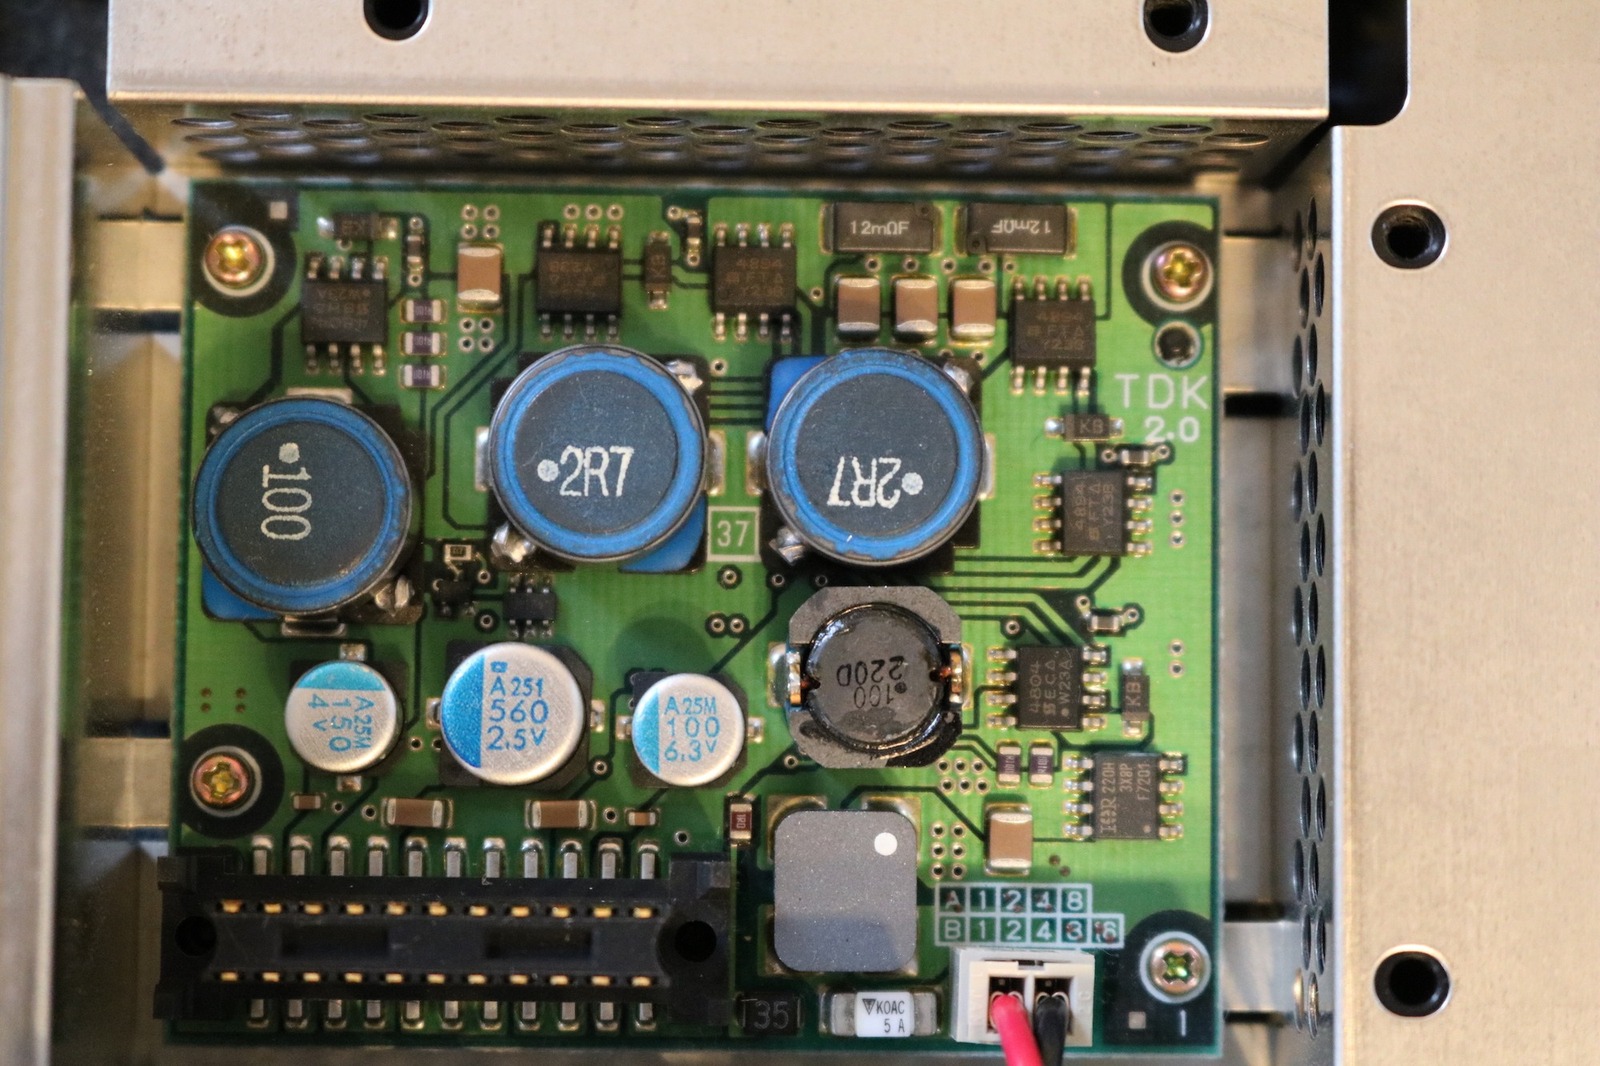
And these are the capacitors on the power board (DC-in area). Looking forward to replacing them one day! There were an awful lot of screws involved in getting this far, too. Nintendo really went to town with them. Screws, screws, and more screws.
Still, it’s good to have this particular GameCube working again. I wasn’t expecting it to come back to life quite so quickly, especially considering how long it had been sitting around.