 Nix McRetro
Another Sega Saturn Sophia development kit in need of attention! This time it’s a European SG4101 unit, serial H417010070, which runs directly from our local mains supply without needing the rather enormous voltage transformer I use with the Japanese machine. That’s one less enormous box to have cluttering up the place.
Unfortunately, the thing isn’t producing any video. The fan and other signs of life are there, but the television isn’t receiving a useful signal. Having already dealt with capacitor problems in my original Sophia, I thought I’d start by examining the surface-mount electrolytics. Process of elimination!
The troublesome capacitors are buried beneath the A-Bus board, so there’s quite a bit of dismantling involved. Off comes the lid, followed by the CD-ROM drive, which has an interesting collection of cables underneath it. Note to self: the tag on the drive cable faces down, with the pins facing up. That’s exactly the sort of thing I forget after putting it somewhere safe.
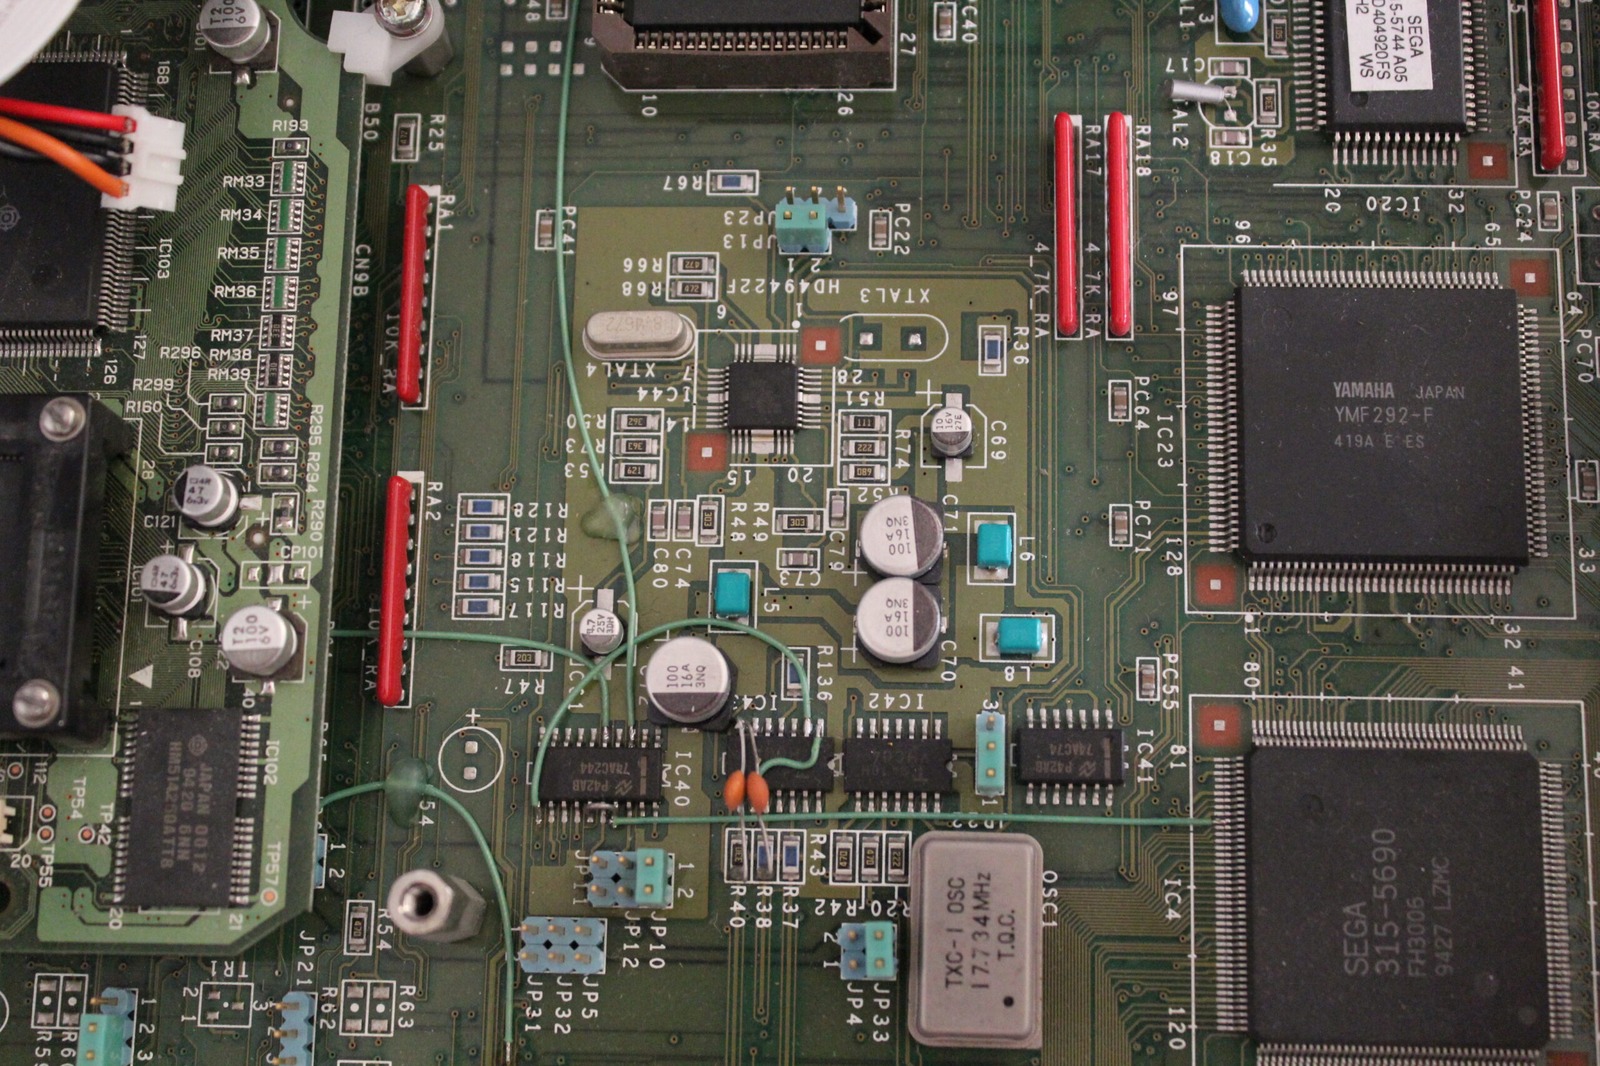
Inside, there’s a pair of socketed SH-2 CPU cards, a BIOS, some Hitachi RAM, and the A-Bus board sitting above the capacitors I’m after. The CPU cards are worth checking for proper seating when troubleshooting these machines, although they weren’t my first suspect this time. Once inside, I found several components that looked suspicious, including C69, C61, and possibly C70. There appeared to be residue around their bases, although I couldn’t be completely certain how much was leakage.
After removing the old components and cleaning the pads, I installed the replacements. There were three 100 uF capacitors, a 10 uF capacitor, and a 4.7 uF capacitor in this particular group. The 100 uF replacements were Panasonic 16 V parts, slightly smaller in diameter than the originals.
There was plenty of soldering, cleaning, and checking of polarity involved. I even managed to position the 4.7 uF capacitor backwards during a trial fit. Good thing I noticed before powering anything up!
My first soldering approach wasn’t particularly elegant either, so out came the desoldering braid and I cleaned up the pads before trying again. Much better. The light was disappearing outside while I was working, which made soldering these tiny things even more enjoyable.
Before
After
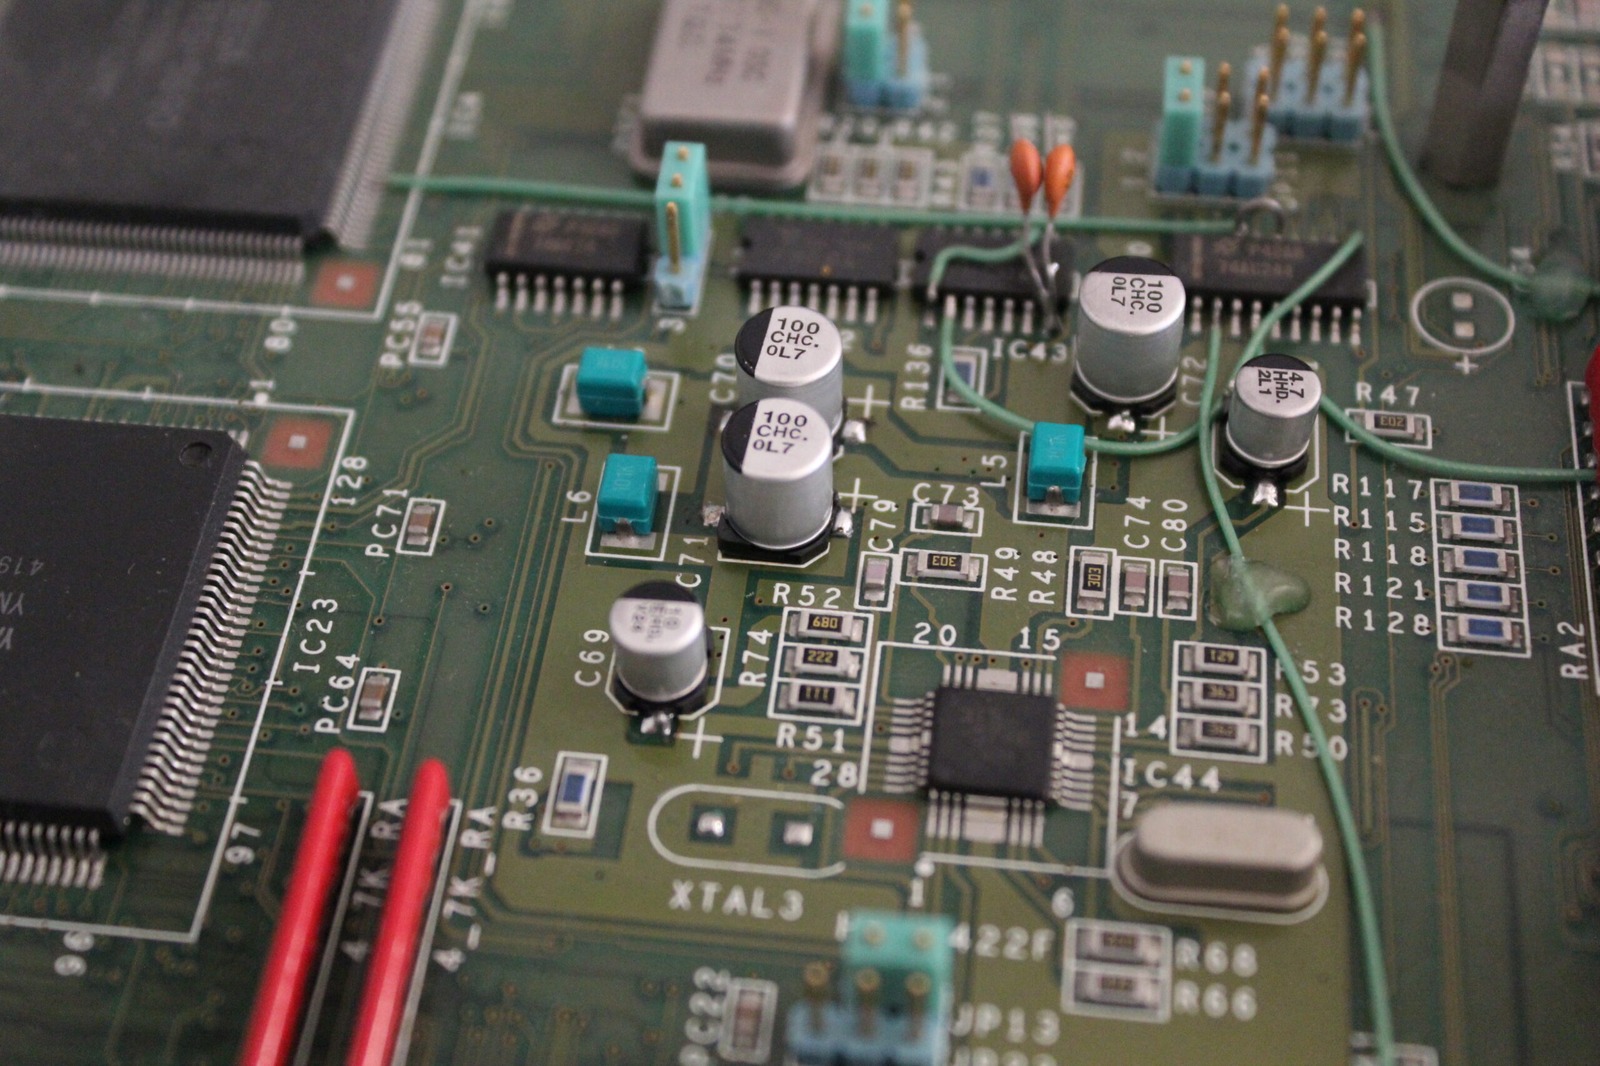
And would you believe it, we have video!
However, there’s another important part to this story. While comparing my Japanese and European Sophia units, I discovered that their PAL/NTSC switch configurations could also cause a completely blank display. I’d been experimenting with the BIOS revisions and region settings, and the two machines weren’t behaving quite the same way.
With the European hardware configured incorrectly, the television would report no signal. Switching it back to PAL brought the display to life. That made it difficult to say with certainty how much of this particular repair was down to the capacitors and how much was the configuration.
After some further experimenting, I managed to get into Sophia’s menus and even load Saturn Bomberman. There was a bit of fiddling with the language and region settings, but the CD drive was showing signs of life too. Beautiful!
To complicate matters, I tried the same switch settings on the third Sophia, which was suffering from an almost identical no-video problem. Unfortunately, that one still refused to produce a picture, even after plenty of switch toggling.
So perhaps the capacitors really were part of the problem after all!
There’s still more capacitor work to do on these machines. The next experiment is to give the remaining Sophia the same treatment and see whether we can get three working units. Don’t you just love trial and error?