 Nix McRetro
I really don’t like small fans. Dreamcast, looking at you. Then again, I’ve added small fans to things in the past. Right Netgear DG834Gv5? Above we have the smash hit follow up to the Cisco SPA8000-G4 post-recap video from… *checks notes* eight months ago. Whoops! 😅
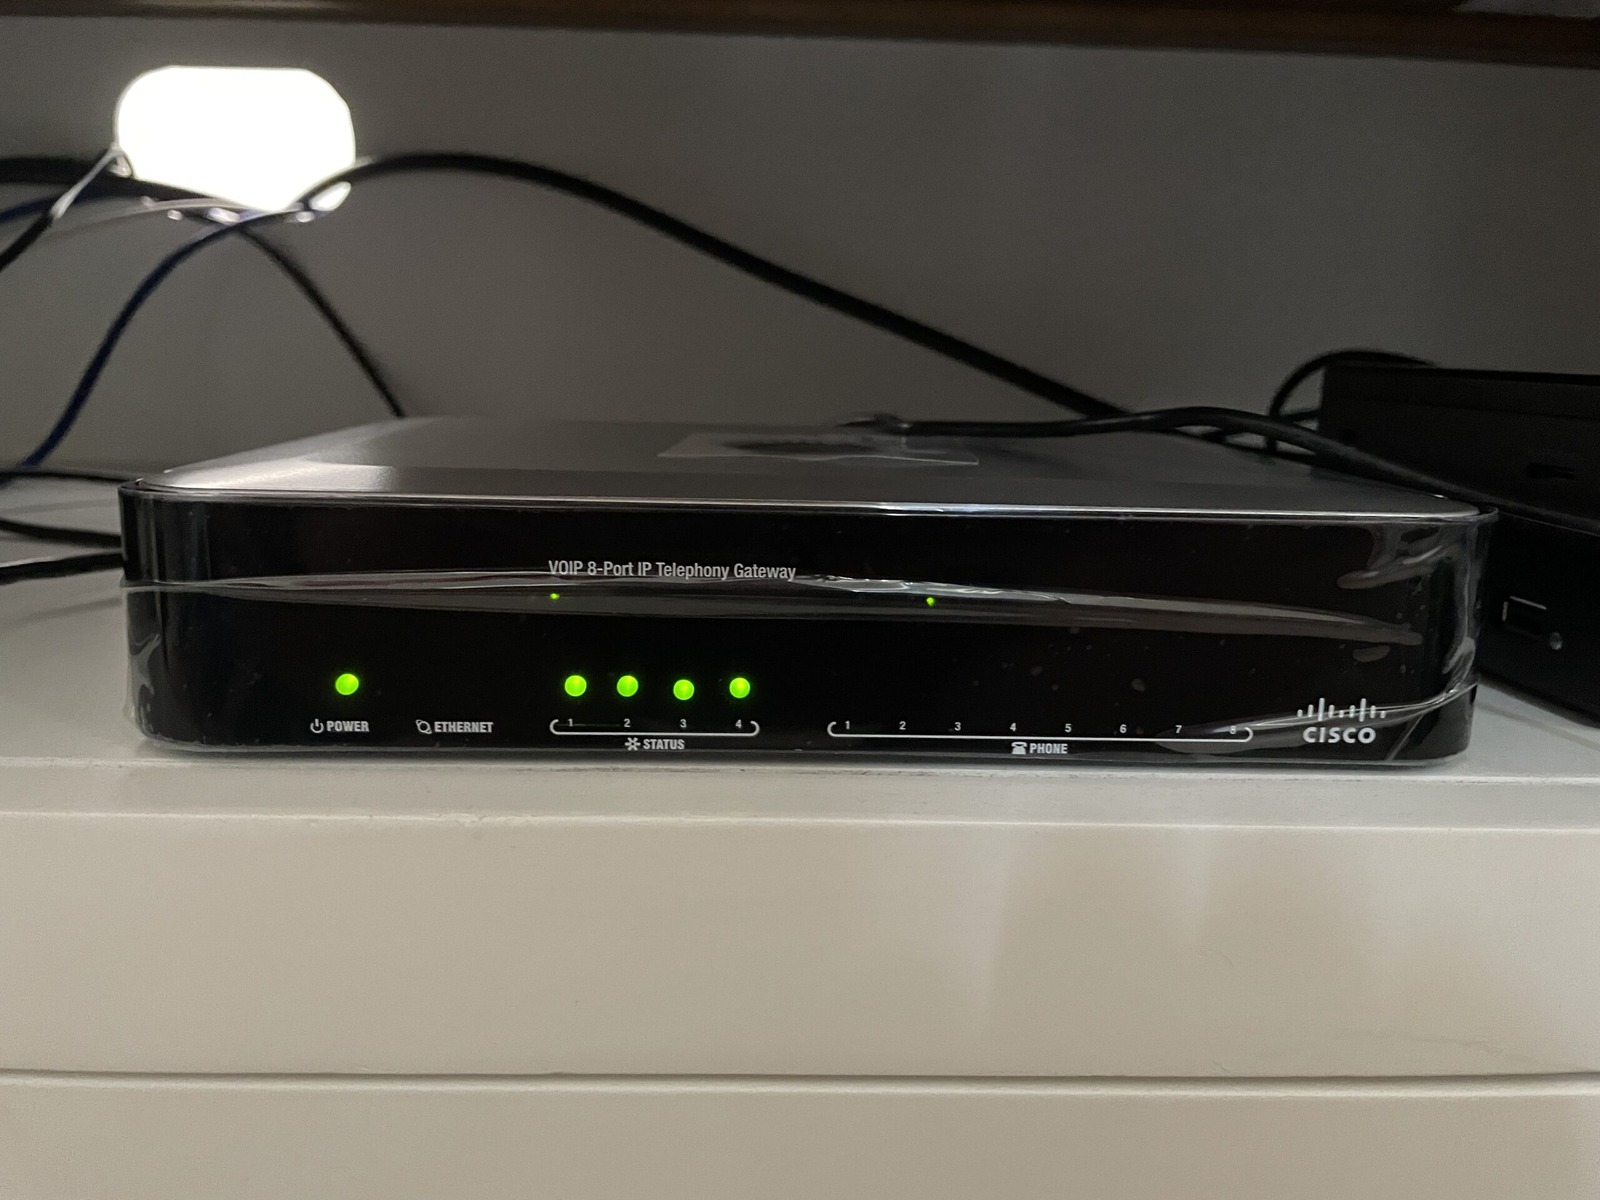
This SPA8000 was originally slated to replace my Linksys PAP2T. However, I ended up moving to the similar Cisco SPA112. The SPA8000 was overkill for my needs - testing some dial-up modems. It wasn’t ever going to hang around for long. Since this will probably be the last post on this device, I probably should tie up some loose ends.
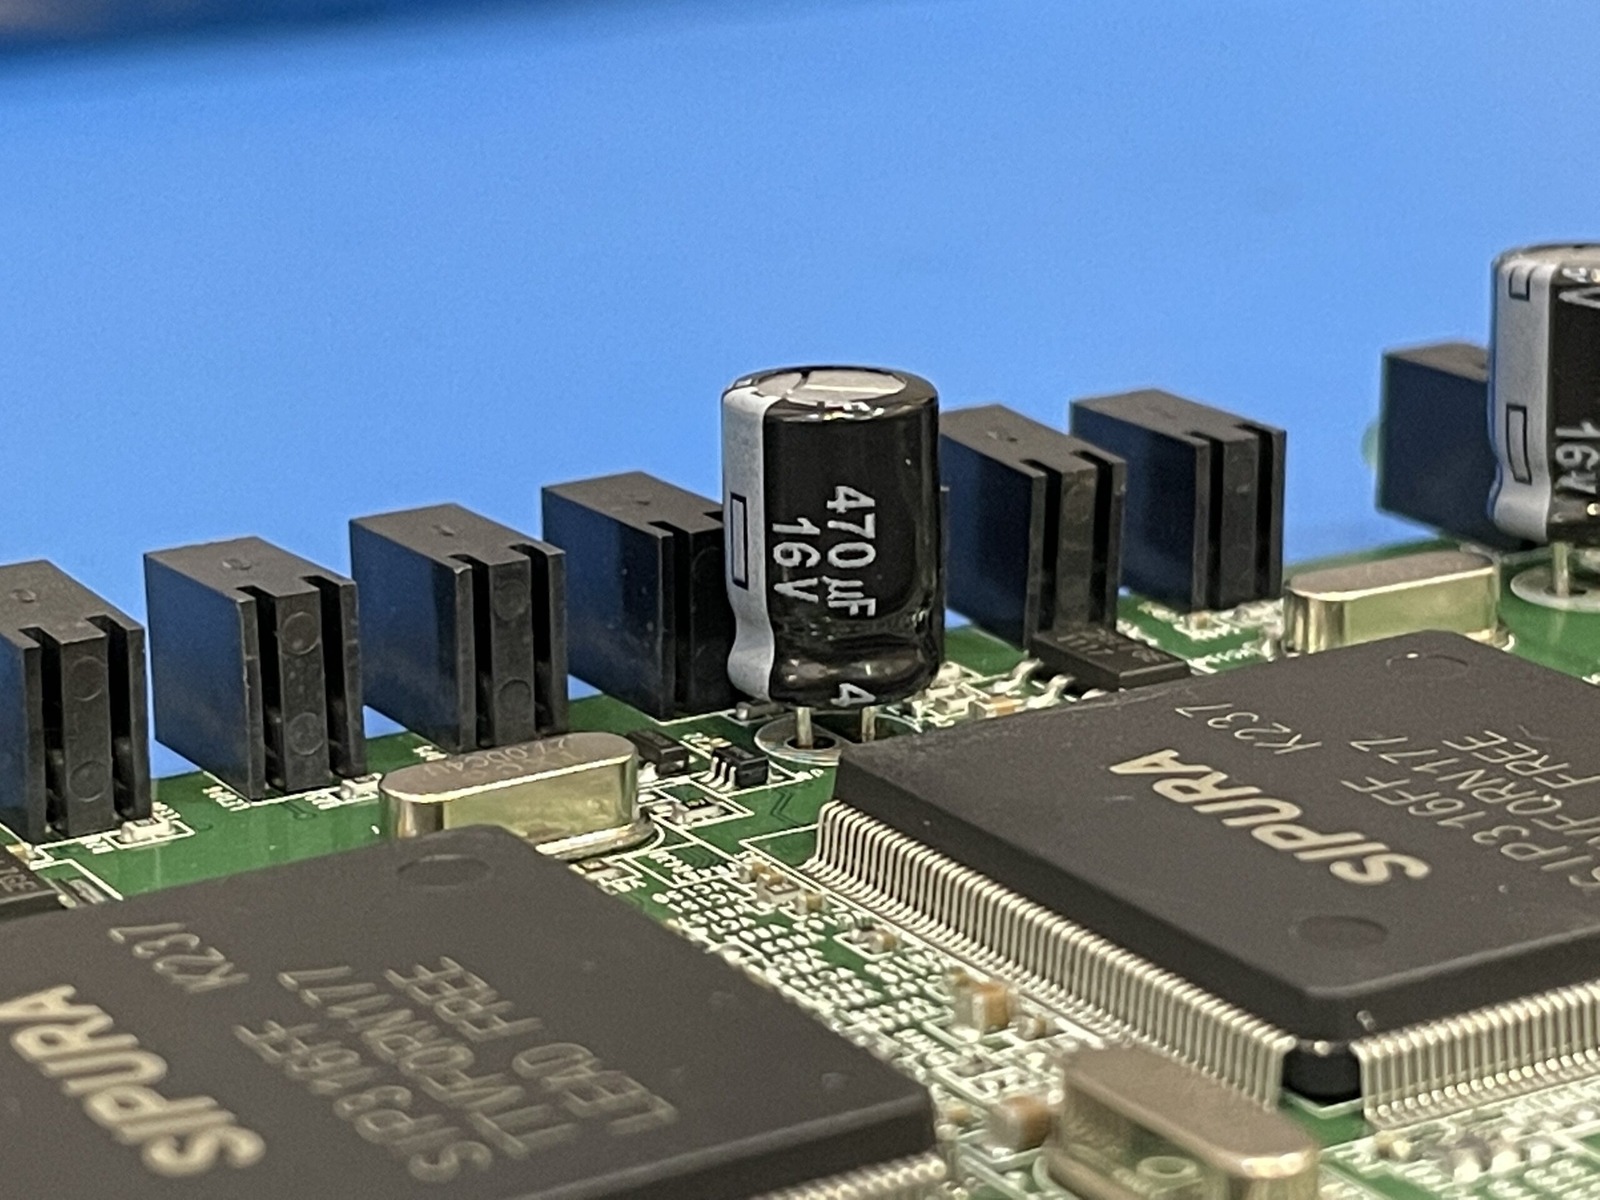
First up is the capacitor replacement. These capacitors must have been rated with Nichicon-levels of life. The Panasonic FR replacements did not line up neatly with every original footprint, which made me suspicious, but case size alone does not prove the original markings were wrong. Different capacitor series can package the same capacitance and voltage rating in different case sizes. I was able to get around the fit problem by elevating the larger replacements slightly off the PCB.
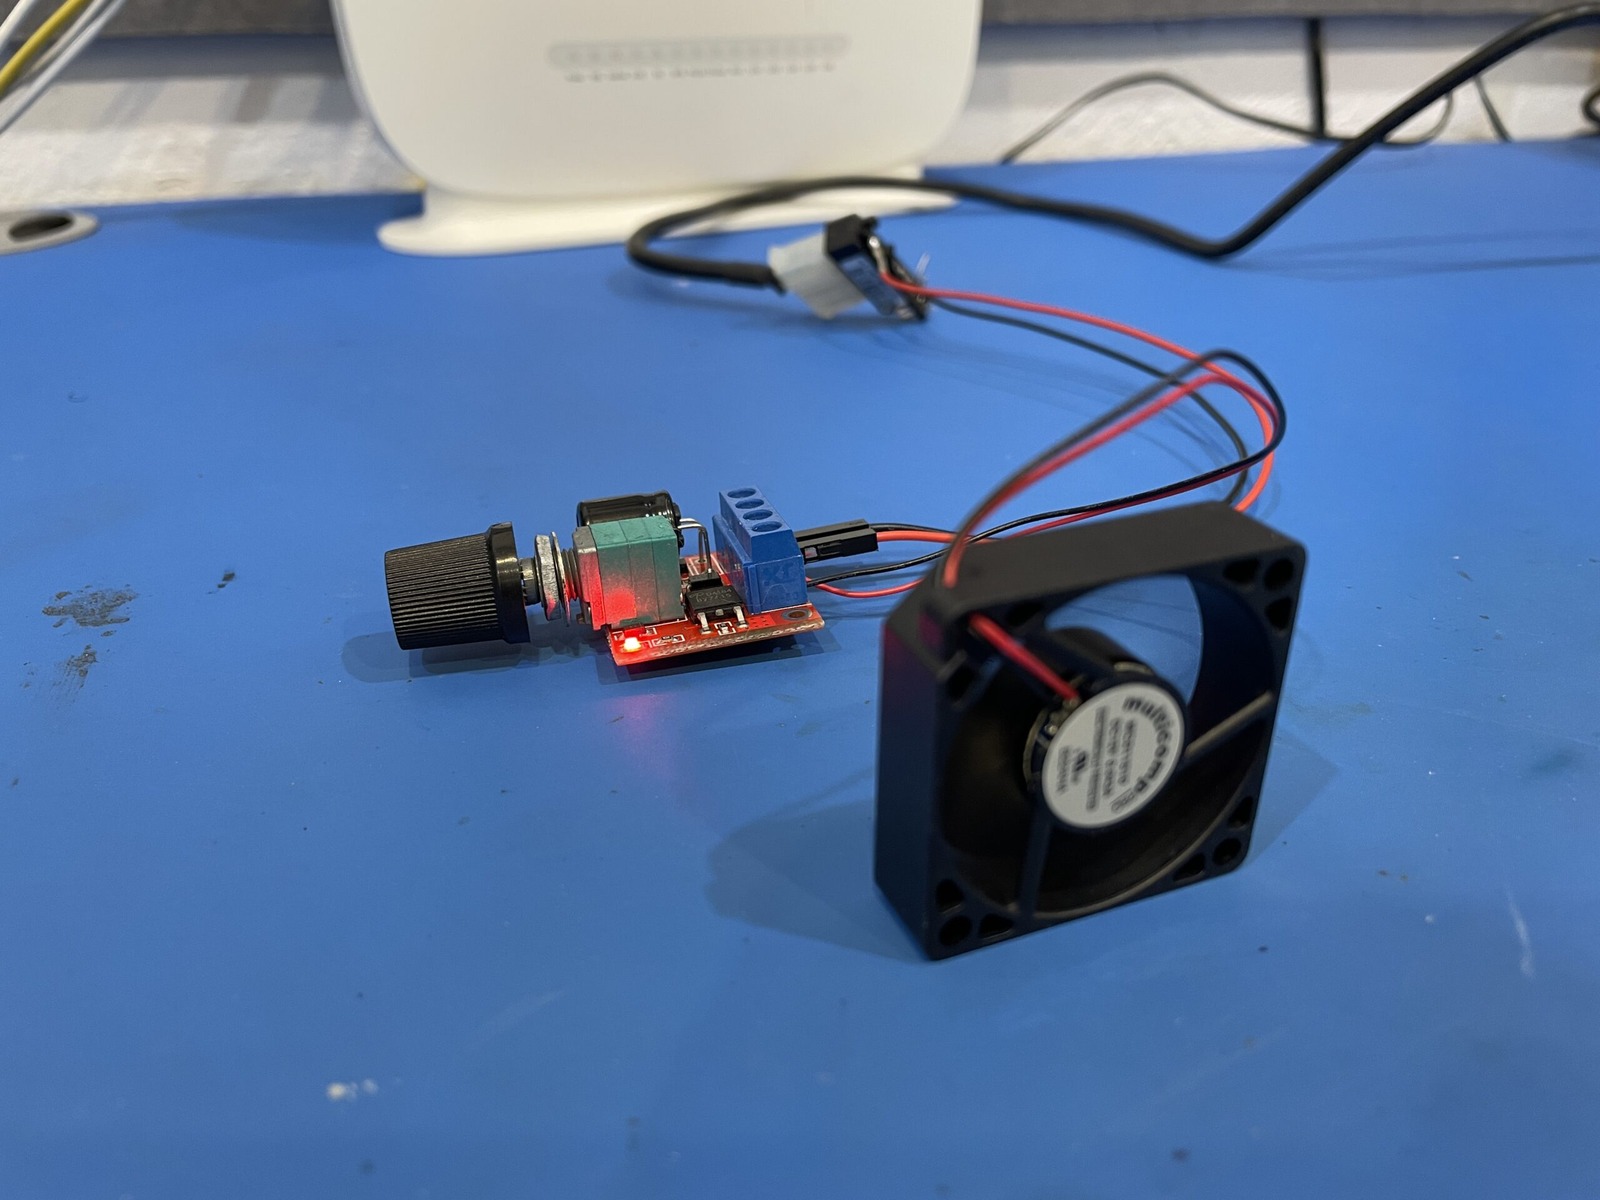
Here’s the fan controller I used. Relatively simple and cheap. I swapped the 50 V Sanyo capacitor for a 25 V Panasonic to fit flush with the PCB. That’s what I fitted, but reducing the voltage rating requires checking the maximum circuit voltage and transients at that component. Physical fit alone is not enough.
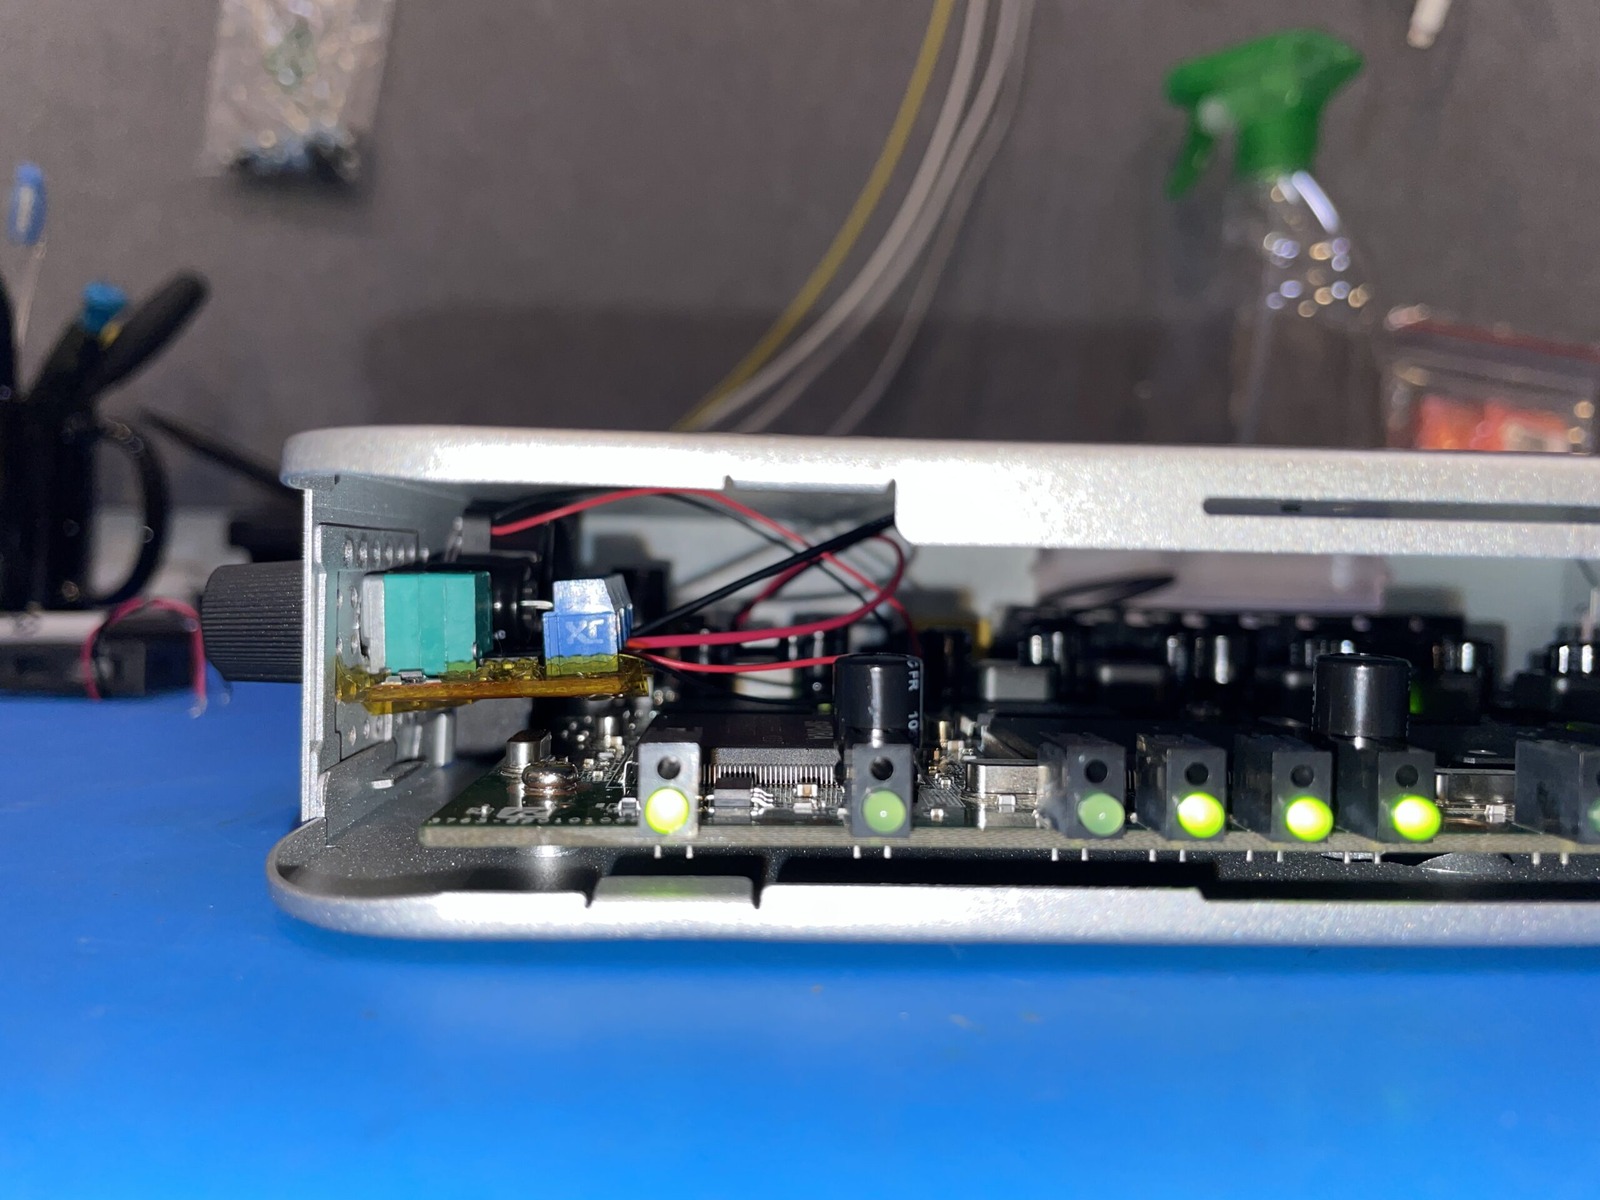
Some of the case needed to be dremelled to fit the potentiometer through. I put Kapton tape on the underside of the controller PCB to prevent shorts.
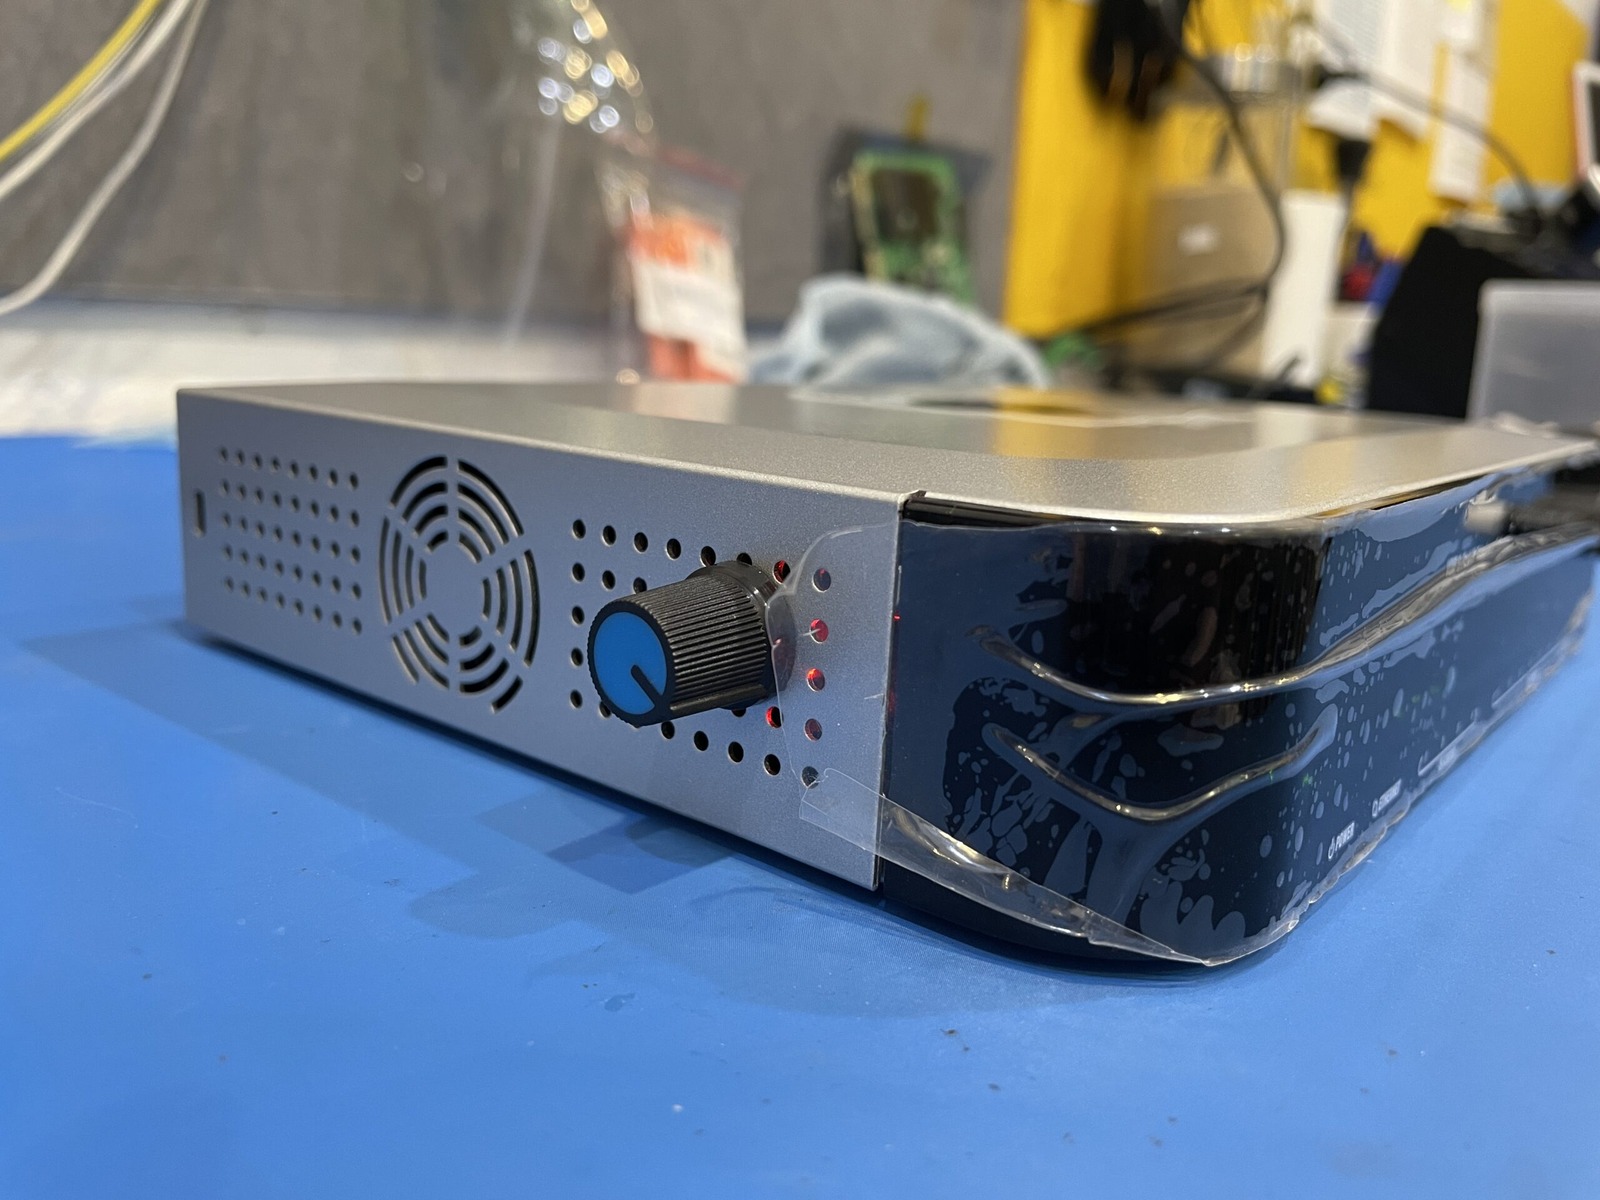
Doesn’t look too bad with the dial attached.
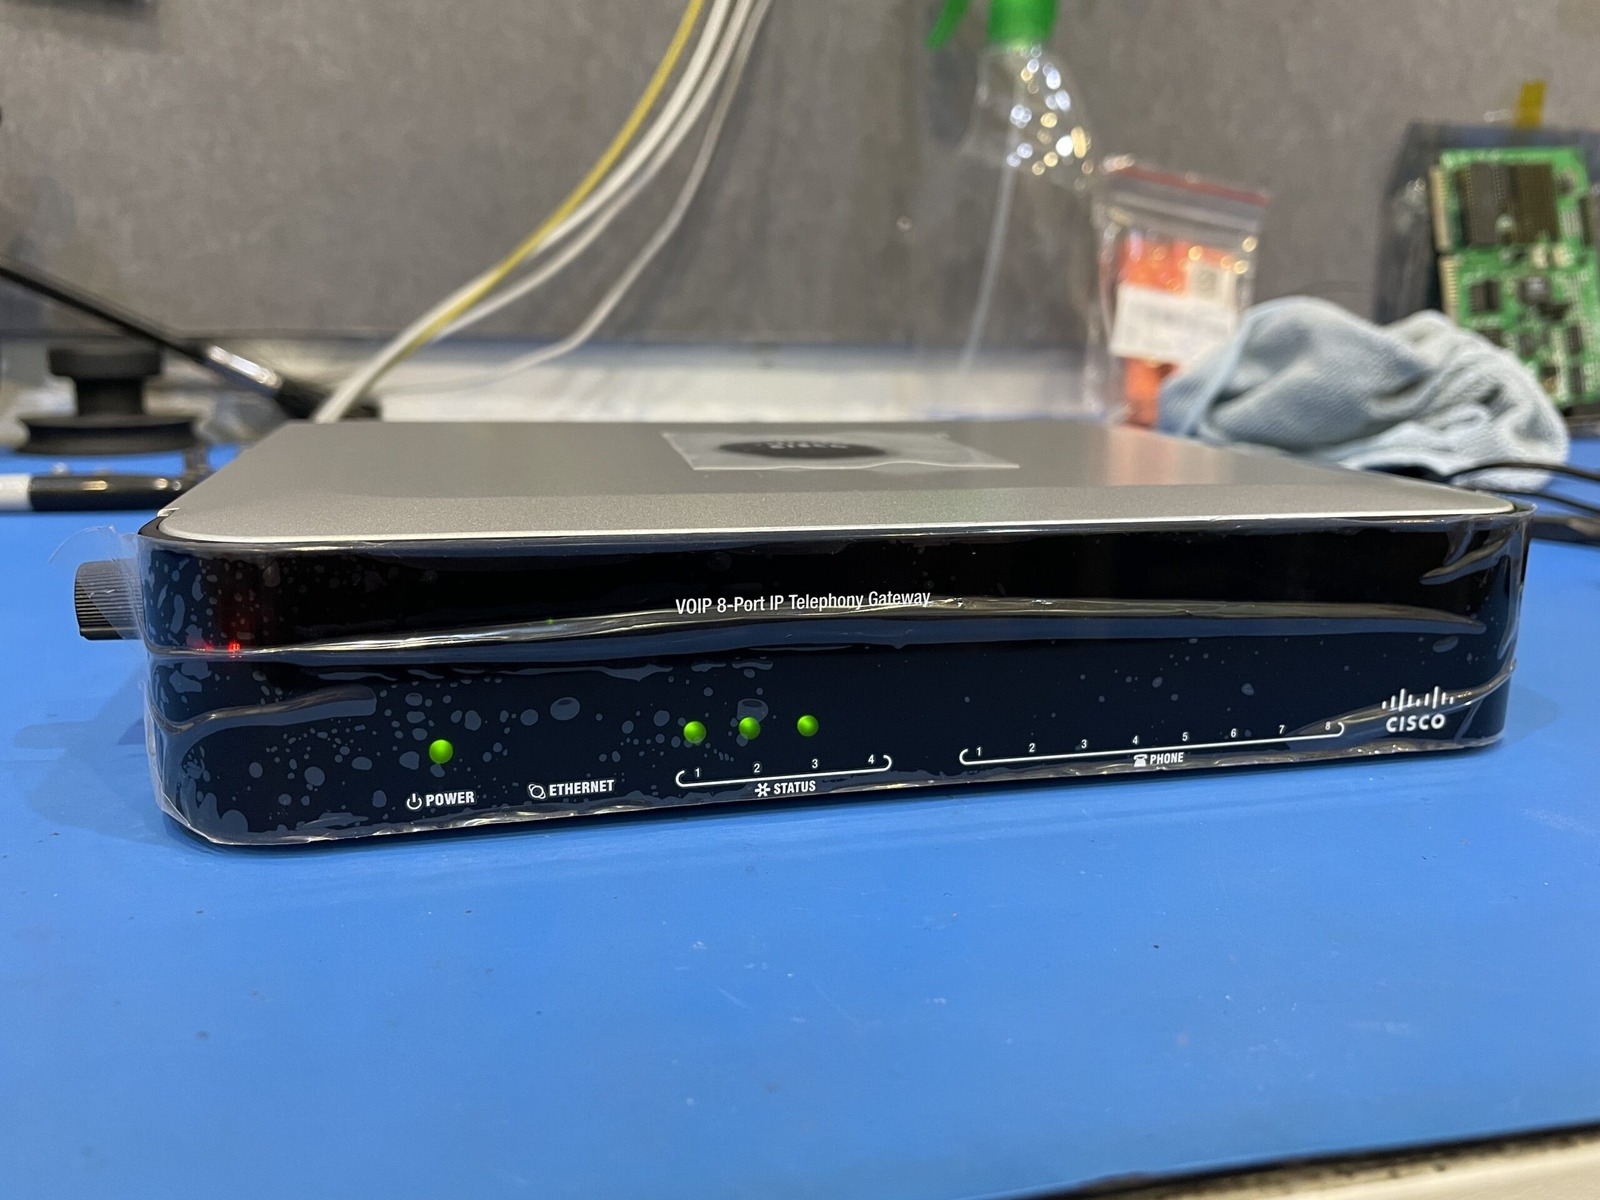
And you can hardly even notice it from the front.
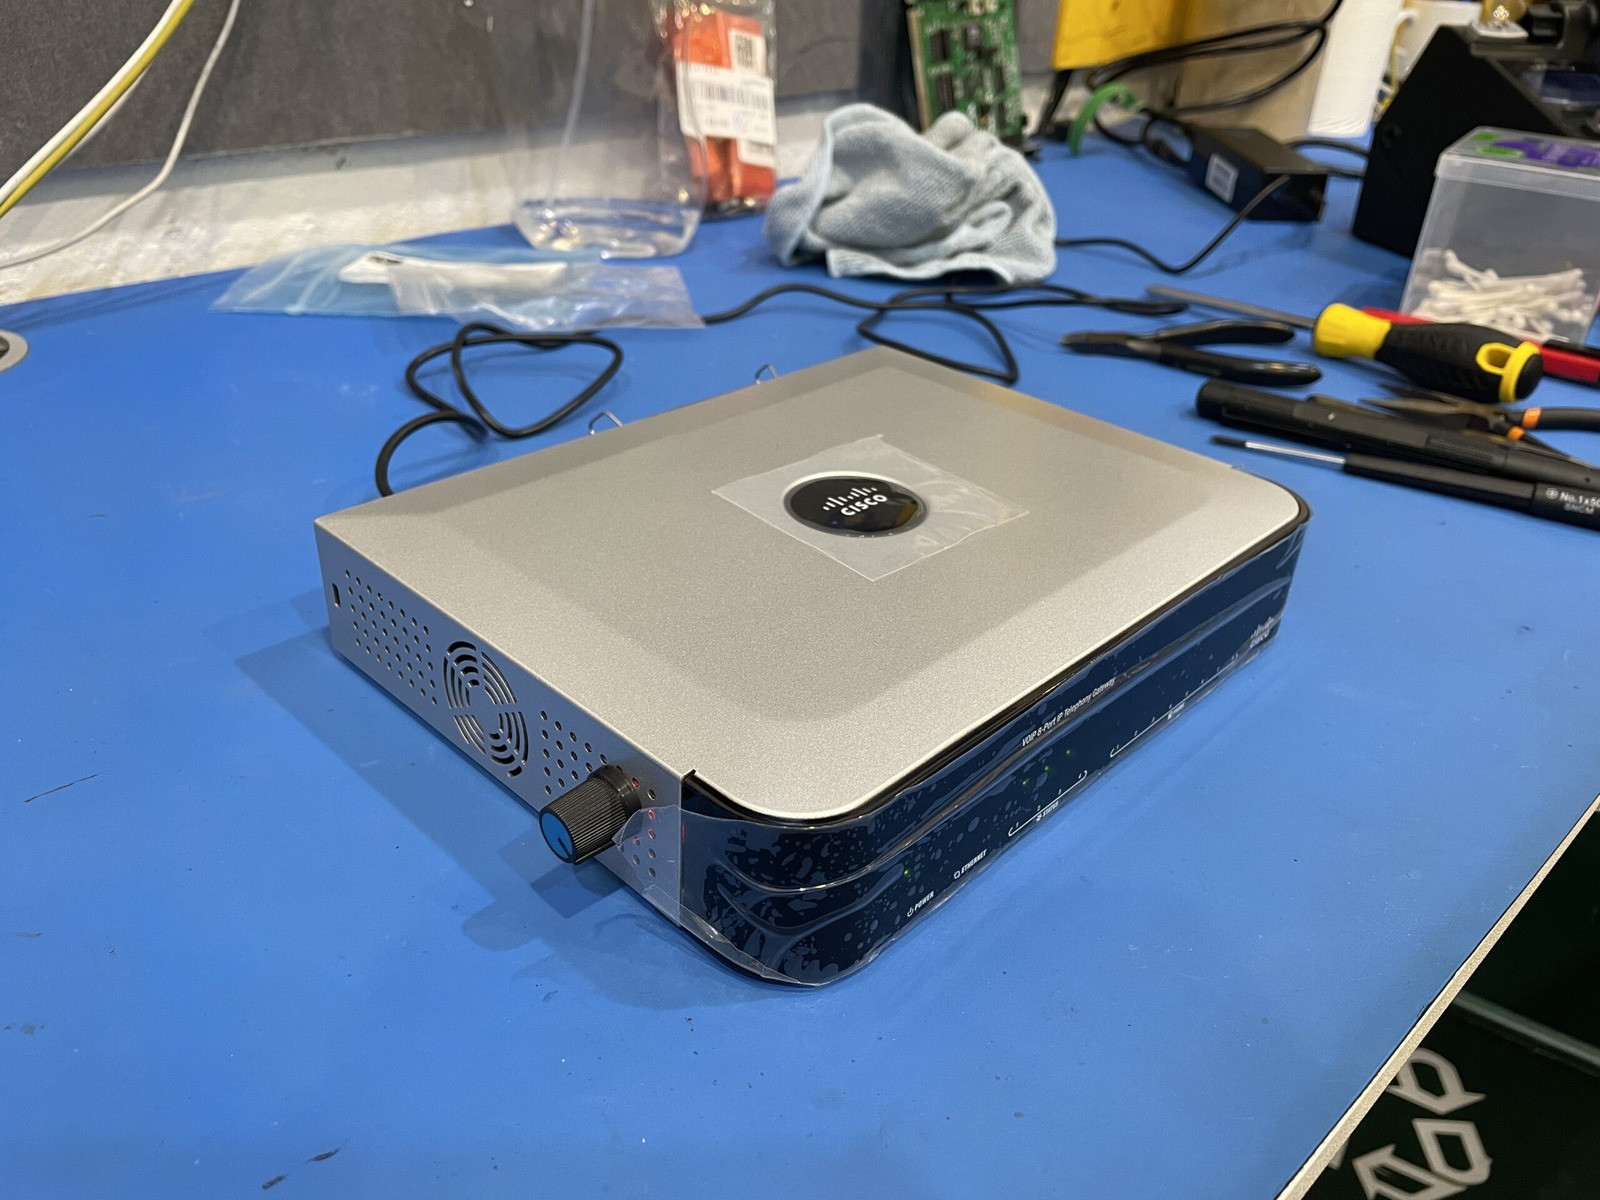
I mean, it looks neat. That’s not like me at all. I’d want the fan on at all times, even at the lowest setting, for peace of mind. Reducing fan speed also reduces cooling, so this sort of modification should be validated with temperatures under the actual load and ambient conditions. Even after the modification, I still found the fan noisy at its lowest speed. Probably that grille blocking airflow and increasing turbulence. Definitely a deciding factor in moving to the Cisco SPA112 instead - no fan!
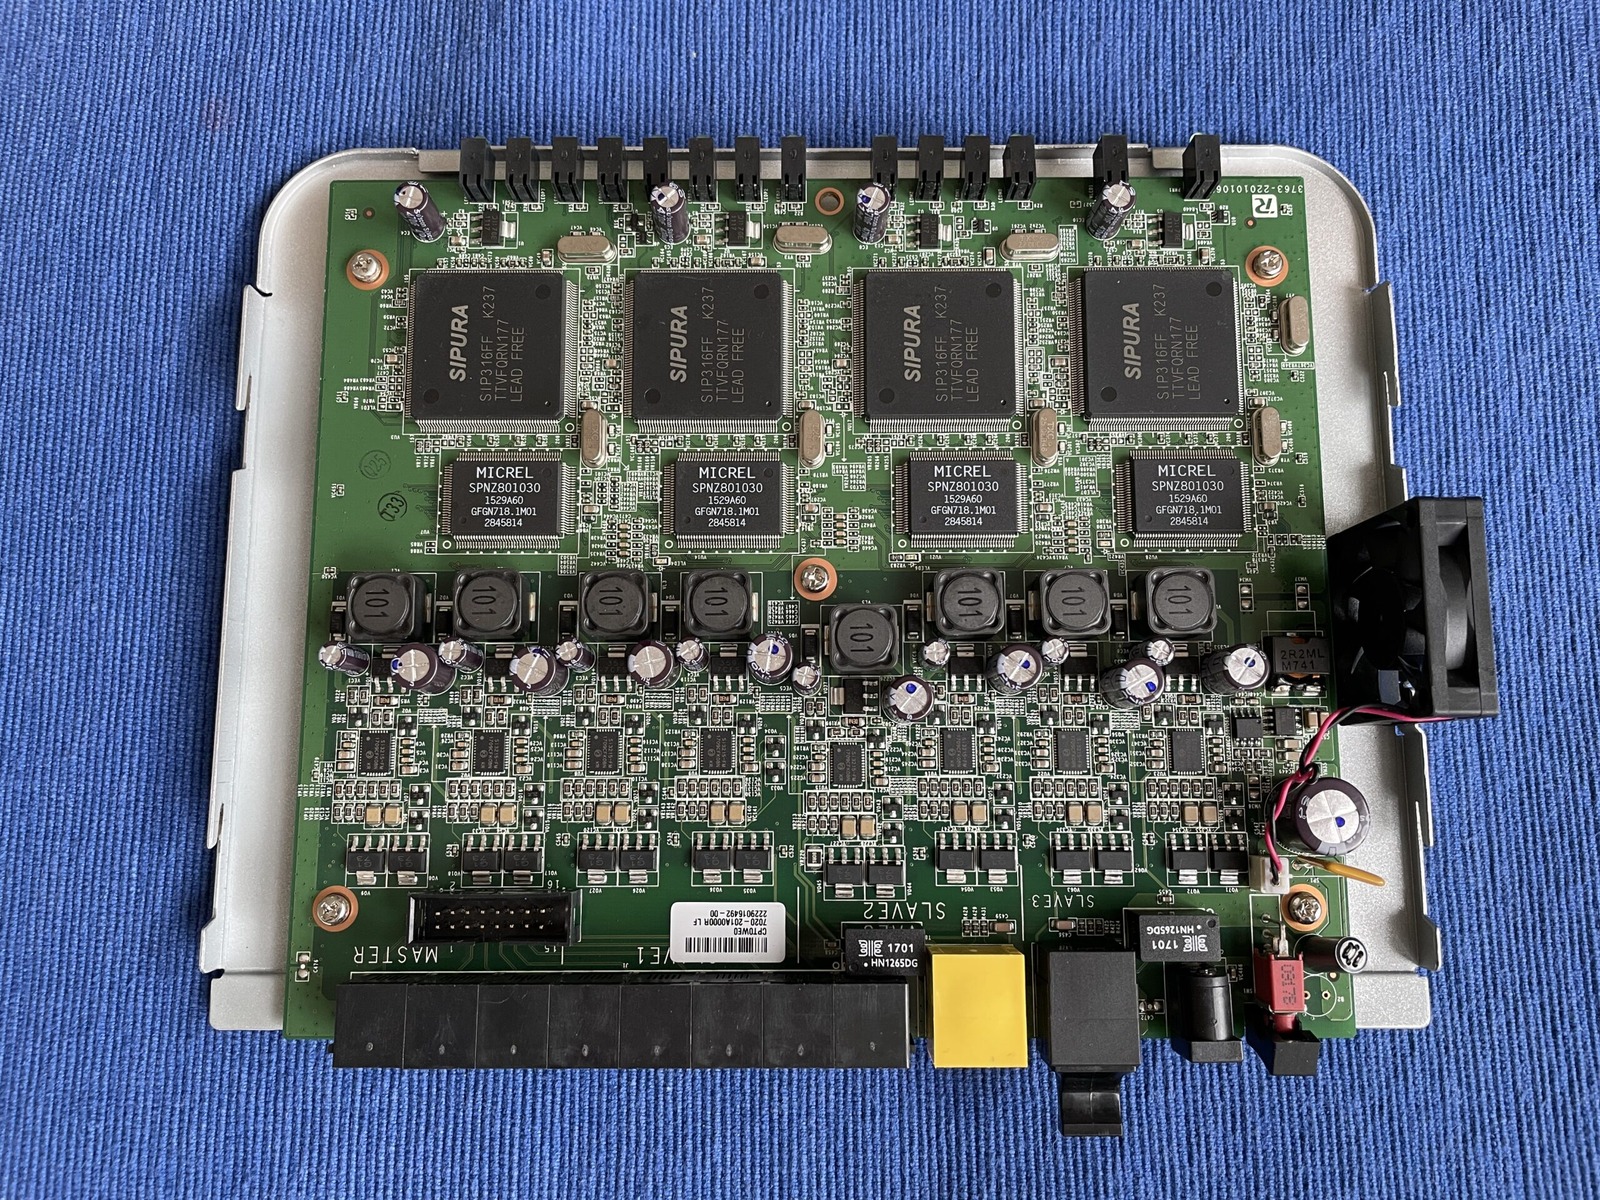
The parts listed below are manufacturer part numbers and record what I installed in this particular SPA8000-G4. Check your board, capacitor type and polarity, capacitance, voltage and temperature ratings, ESR, ripple current and physical fit before choosing replacements. The formatting isn’t too web friendly. Copy the raw text out and paste it into a plain-text editor such as Notepad or TextEdit in plain-text mode and you’ll probably be fine. 😄
Location	Value	Voltage		Dimensions				Lead Spacing	Notes
EC1/EC2		1500uF	16V			12.5mm (h) x 12.5mm (w)	5mm				EEUFR1C152	Panasonic FR Series

VC353		27uF	100V		12.5mm (h) x 8mm (w)	3.0-3.5mm		EEUFS2A270	Panasonic FS Series
VC333		27uF	100V		12.5mm (h) x 8mm (w)	3.0-3.5mm		As above
VC246		27uF	100V		12.5mm (h) x 8mm (w)	3.0-3.5mm		As above
VC266		27uF	100V		12.5mm (h) x 8mm (w)	3.0-3.5mm		As above
VC139		27uF	100V		12.5mm (h) x 8mm (w)	3.0-3.5mm		As above
VC119		27uF	100V		12.5mm (h) x 8mm (w)	3.0-3.5mm		As above
VC32		27uF	100V		12.5mm (h) x 8mm (w)	3.0-3.5mm		As above
VC12		27uF	100V		12.5mm (h) x 8mm (w)	3.0-3.5mm		As above

VEC8		100uF	10V			12.5mm (h) x 5mm (w)	2.0mm			EEUFR1C101	Panasonic FR Series, upgraded to 16V
VEC7		100uF	10V			12.5mm (h) x 5mm (w)	2.0mm			As above
VEC6		100uF	10V			12.5mm (h) x 5mm (w)	2.0mm			As above
VEC5		100uF	10V			12.5mm (h) x 5mm (w)	2.0mm			As above
VEC4		100uF	10V			12.5mm (h) x 5mm (w)	2.0mm			As above
VEC3		100uF	10V			12.5mm (h) x 5mm (w)	2.0mm			As above
VEC2		100uF	10V			12.5mm (h) x 5mm (w)	2.0mm			As above
VEC1		100uF	10V			12.5mm (h) x 5mm (w)	2.0mm			As above

EC10		470uF	10V			12.5mm (h) x 6mm (w)	2.0-2.5mm		EEUFR1C471	Panasonic FR Series, upgraded to 16V
EC8			470uF	10V			12.5mm (h) x 6mm (w)	2.0-2.5mm		As above	Lead spacing is 3.5mm, 8mm wide not 6mm... may not fit...
EC5			470uF	10V			12.5mm (h) x 6mm (w)	2.0-2.5mm		As above	Solution - Raised them up above the board a few millimeters.
EC4			470uF	10V			12.5mm (h) x 6mm (w)	2.0-2.5mm		As above	Original package was smaller; case size alone does not establish that it was operated beyond rating.

Fan			12V 	0.043A		35mm (w) x 35mm (h) 10mm (d) 			MC011510	For Replacement of Superred CHC3512CB DC 12V 0.13A 35x35x10mm 2-Wire Server Fan
One issue I encountered on first power-on, which is probably worth mentioning, was boot looping. Here are the initial software version, device serial number and reset command I used.
Serial: 		CFH01T701904
Software:		5.1.10
Modem reset:	ATDT****,,,,73738#,,,,1
I was able to perform a factory reset using dial-up modems. I was likely using an Avtek MegaPlus V.32bis. You may need to adjust the pauses (commas) as it gives the Sipura menu time to respond.
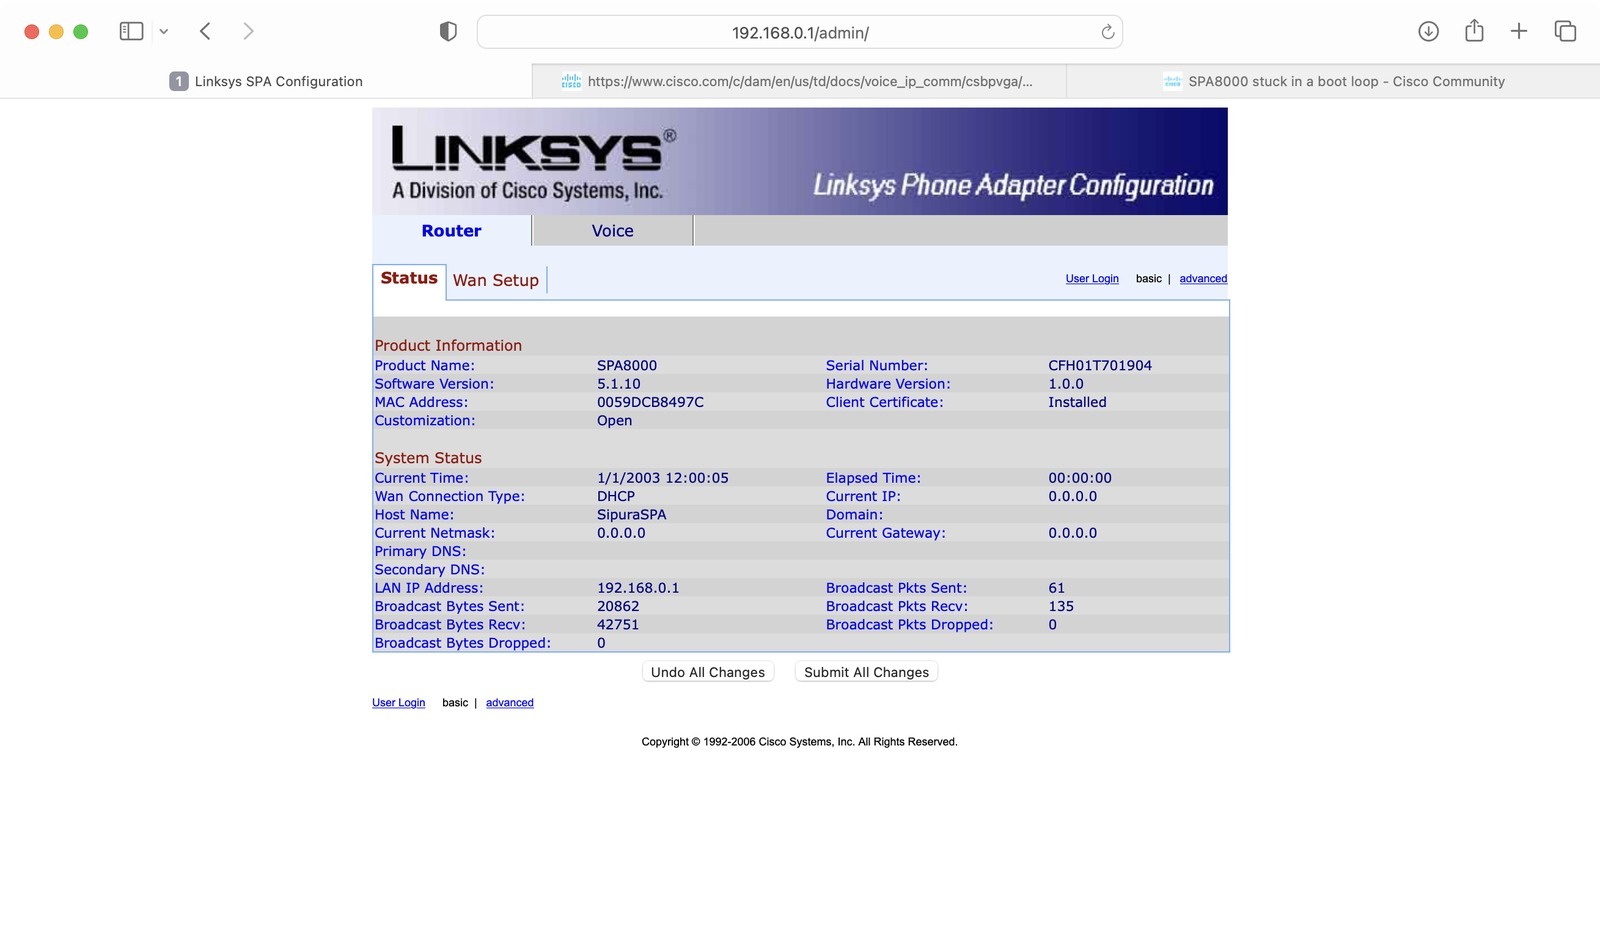
The firmware was out of date, which wasn’t all that surprising. Keep your eyes on the IP address in the location bar. That caused a few headaches.
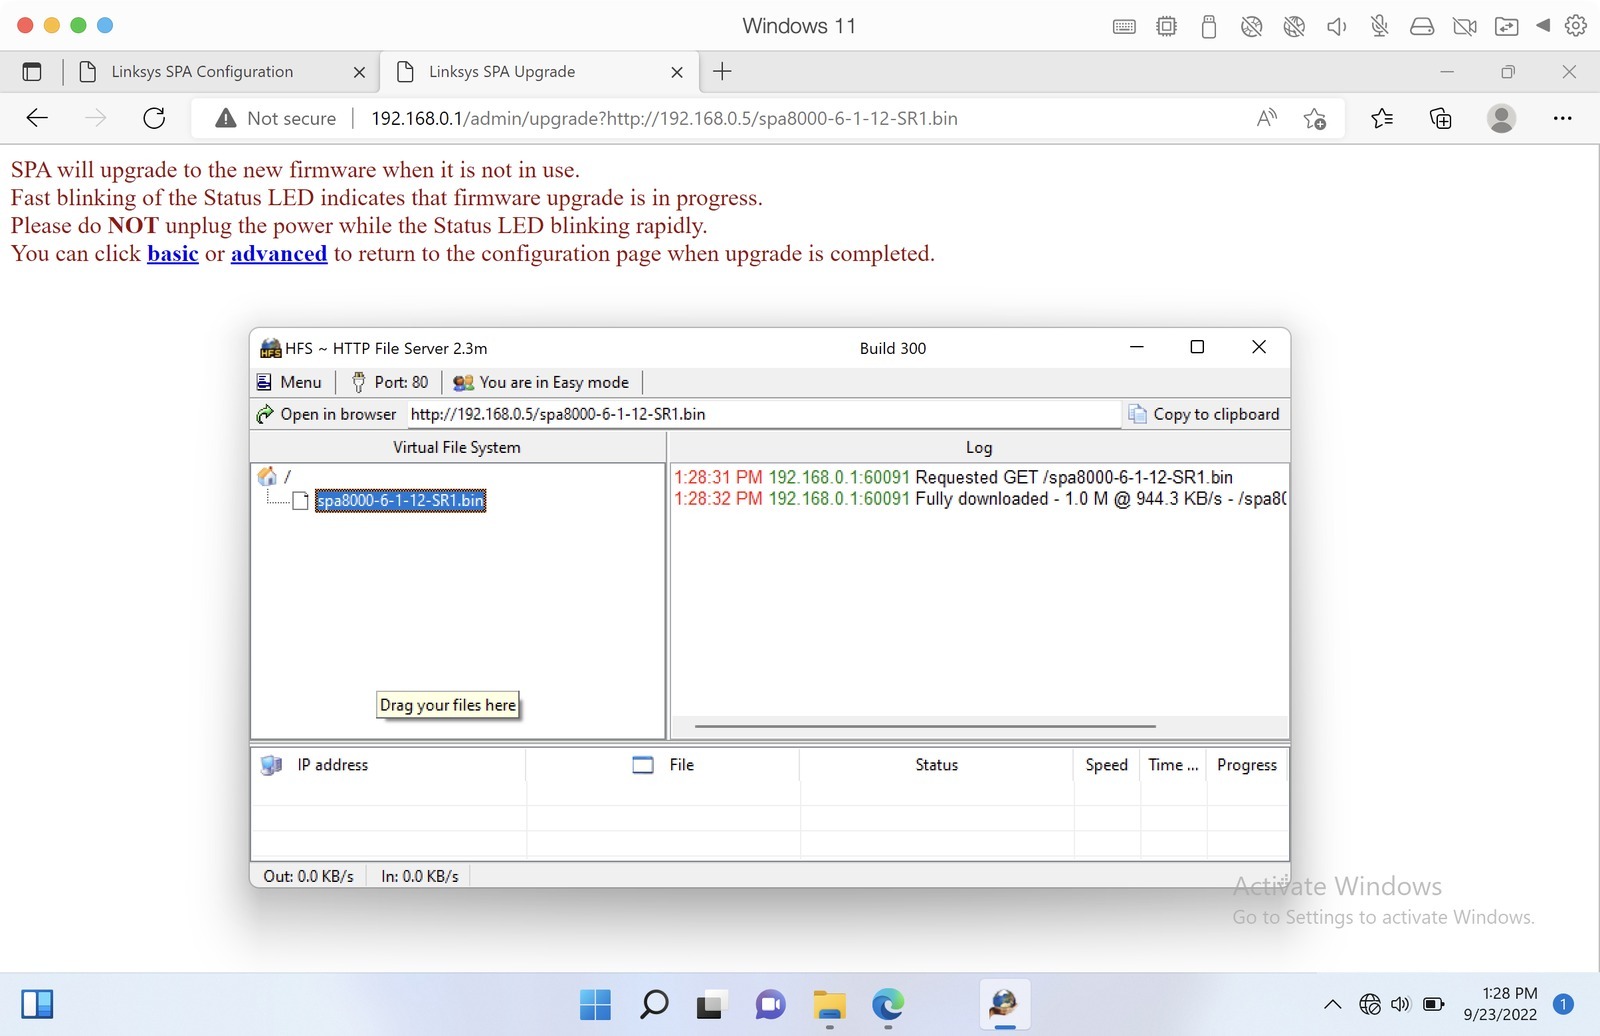
Cisco’s firmware-upgrade guide for SPA8000 version 6.1.12SR1 helped me through the update.
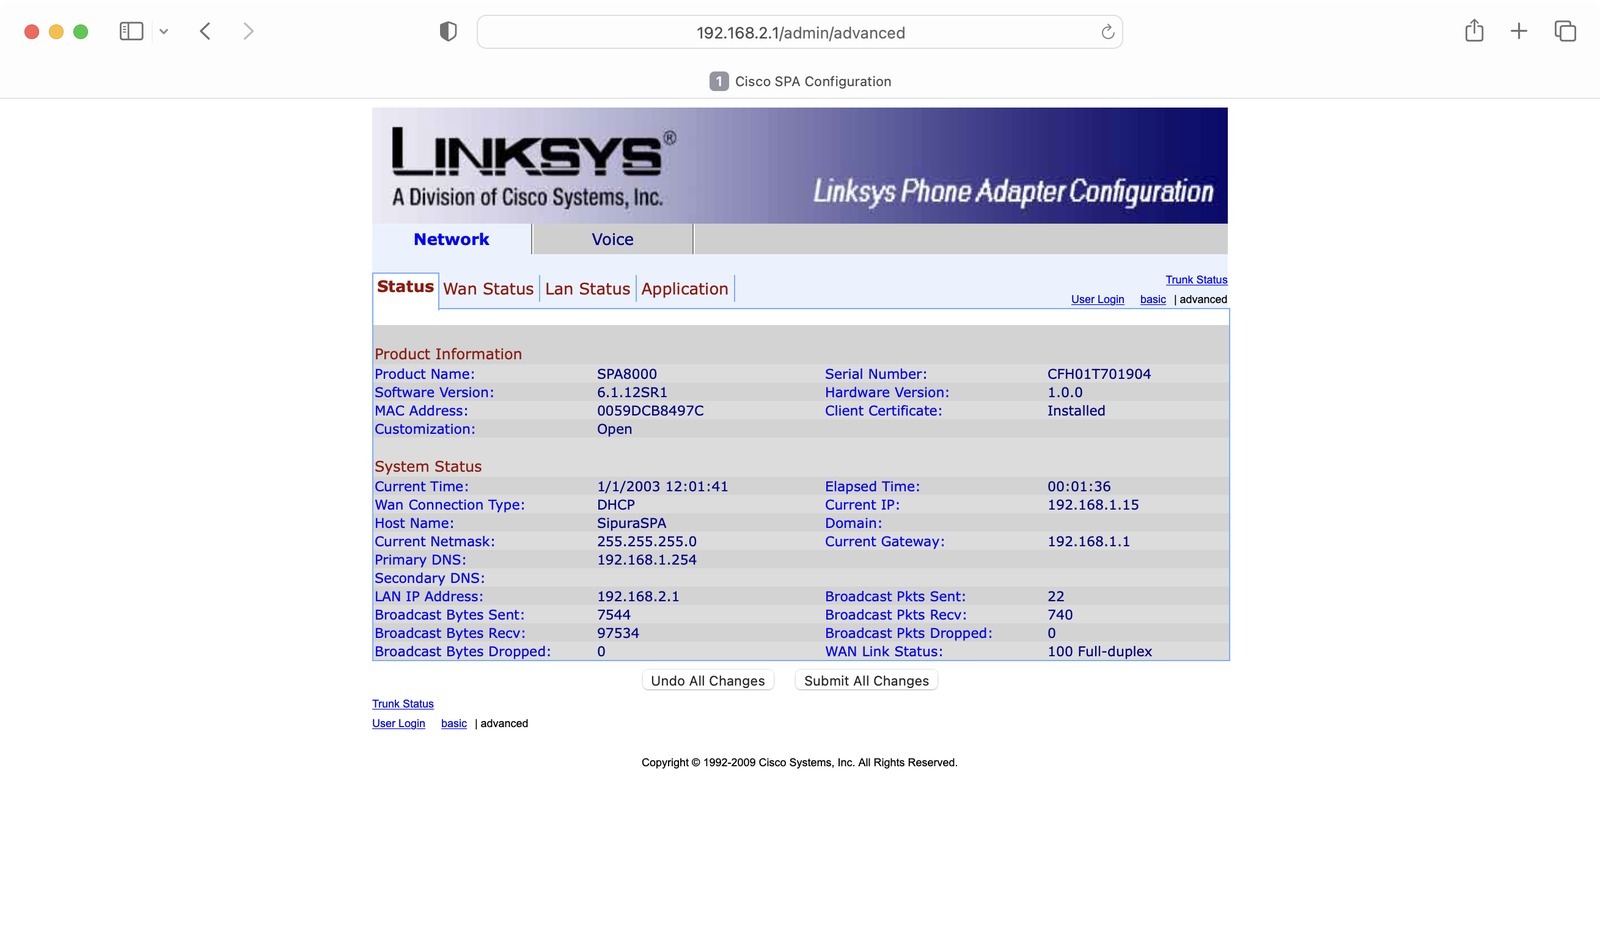
The quick start guide also came in handy.
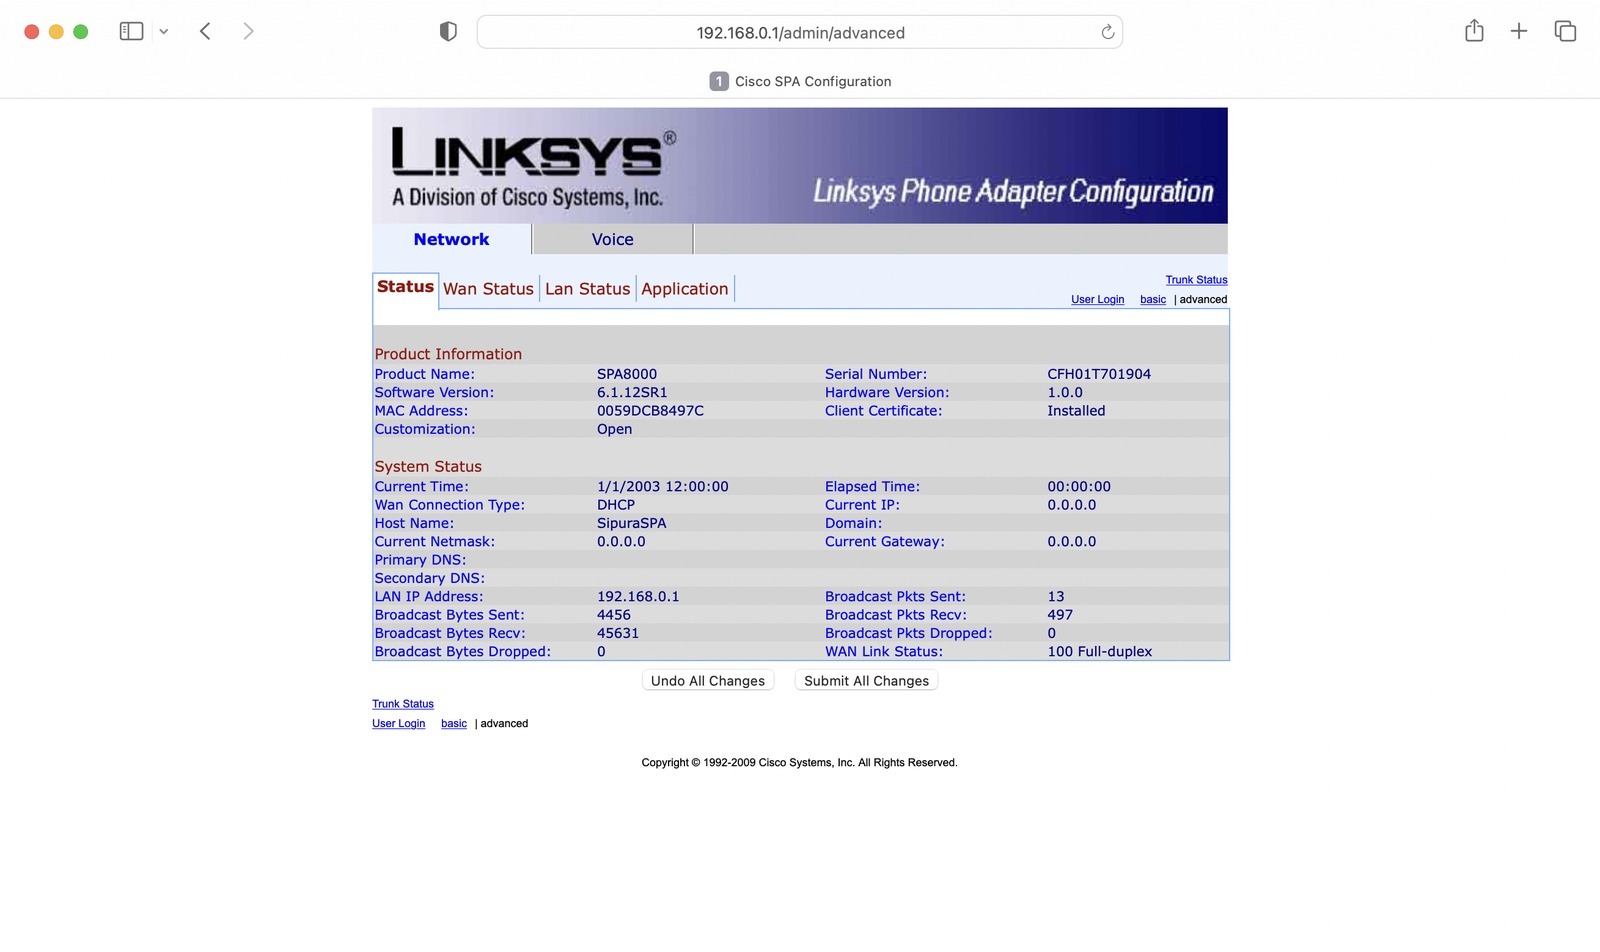
Thankfully, I wasn’t alone: I found a Cisco Community thread about the SPA8000 boot loop. That thread was useful at the time, although it currently returns a site-unavailable page.
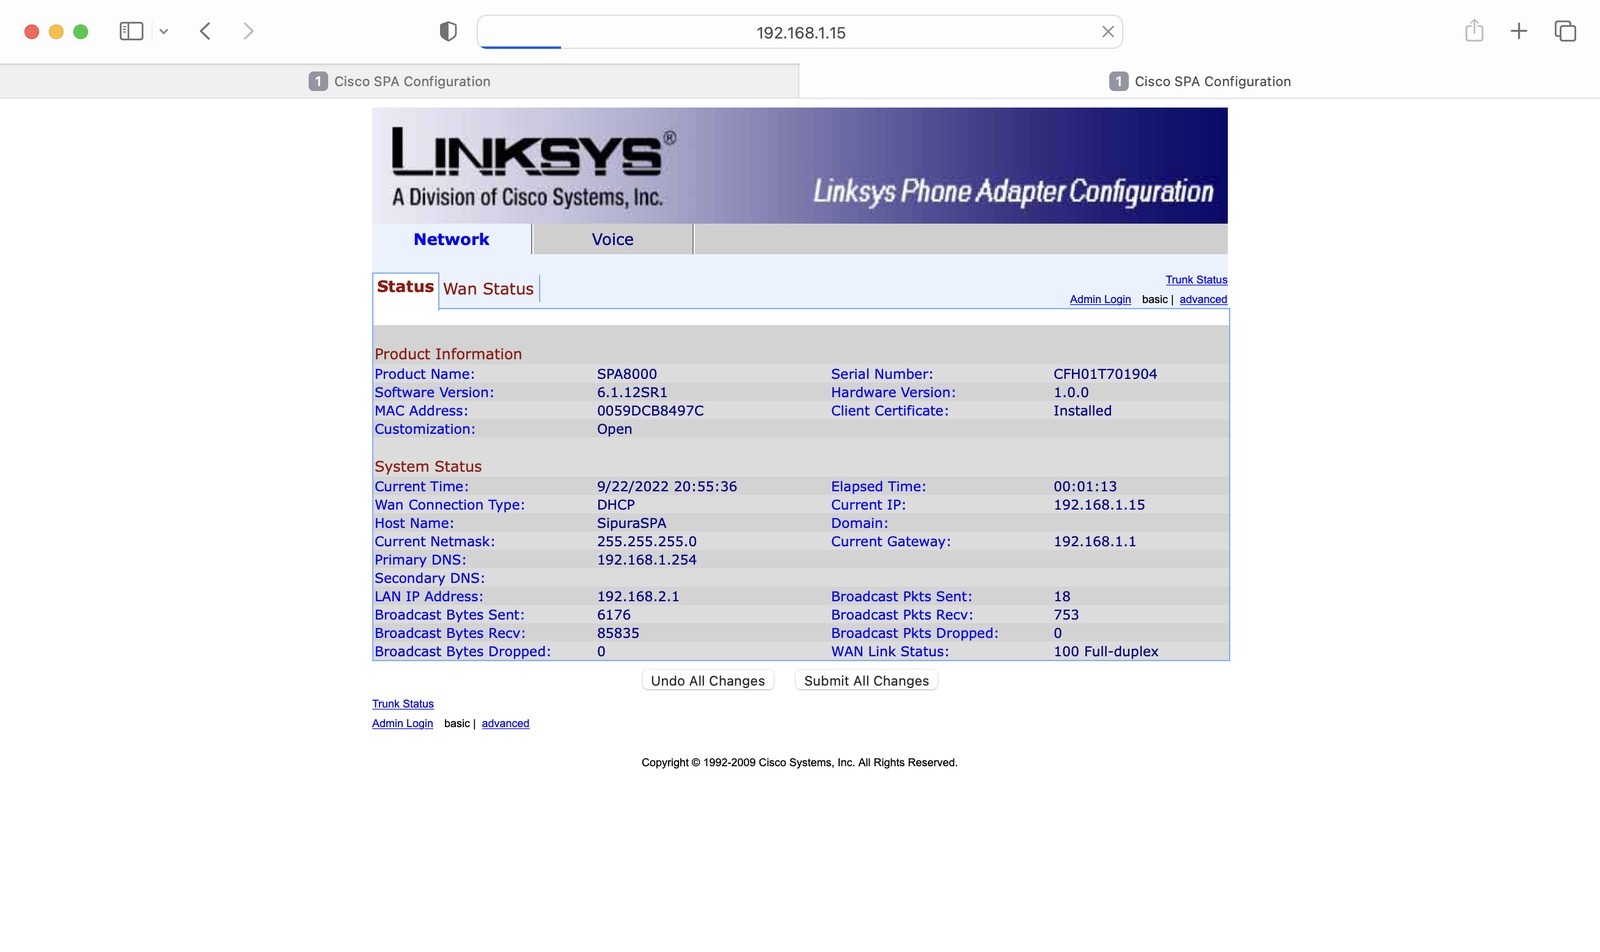
On this unit, the boot loop stopped when I disconnected Ethernet, which let me reach the AUX interface at 192.168.0.1 and continue recovery. I wouldn’t turn that into a universal SPA8000 rule, but it was the condition that worked here. Another thing that was kicking me was the lack of a time server, so the date and time wouldn’t update. Adding time.nist.gov as the primary time server in the advanced settings solved that.
I put more photos of this device in the photo gallery, if you are interested in that sort of thing. No judgement from this side of the table! 😄 I also put the firmware I used and some PDFs on configuring the SPA8000 onto the file server. Both are currently unavailable.